
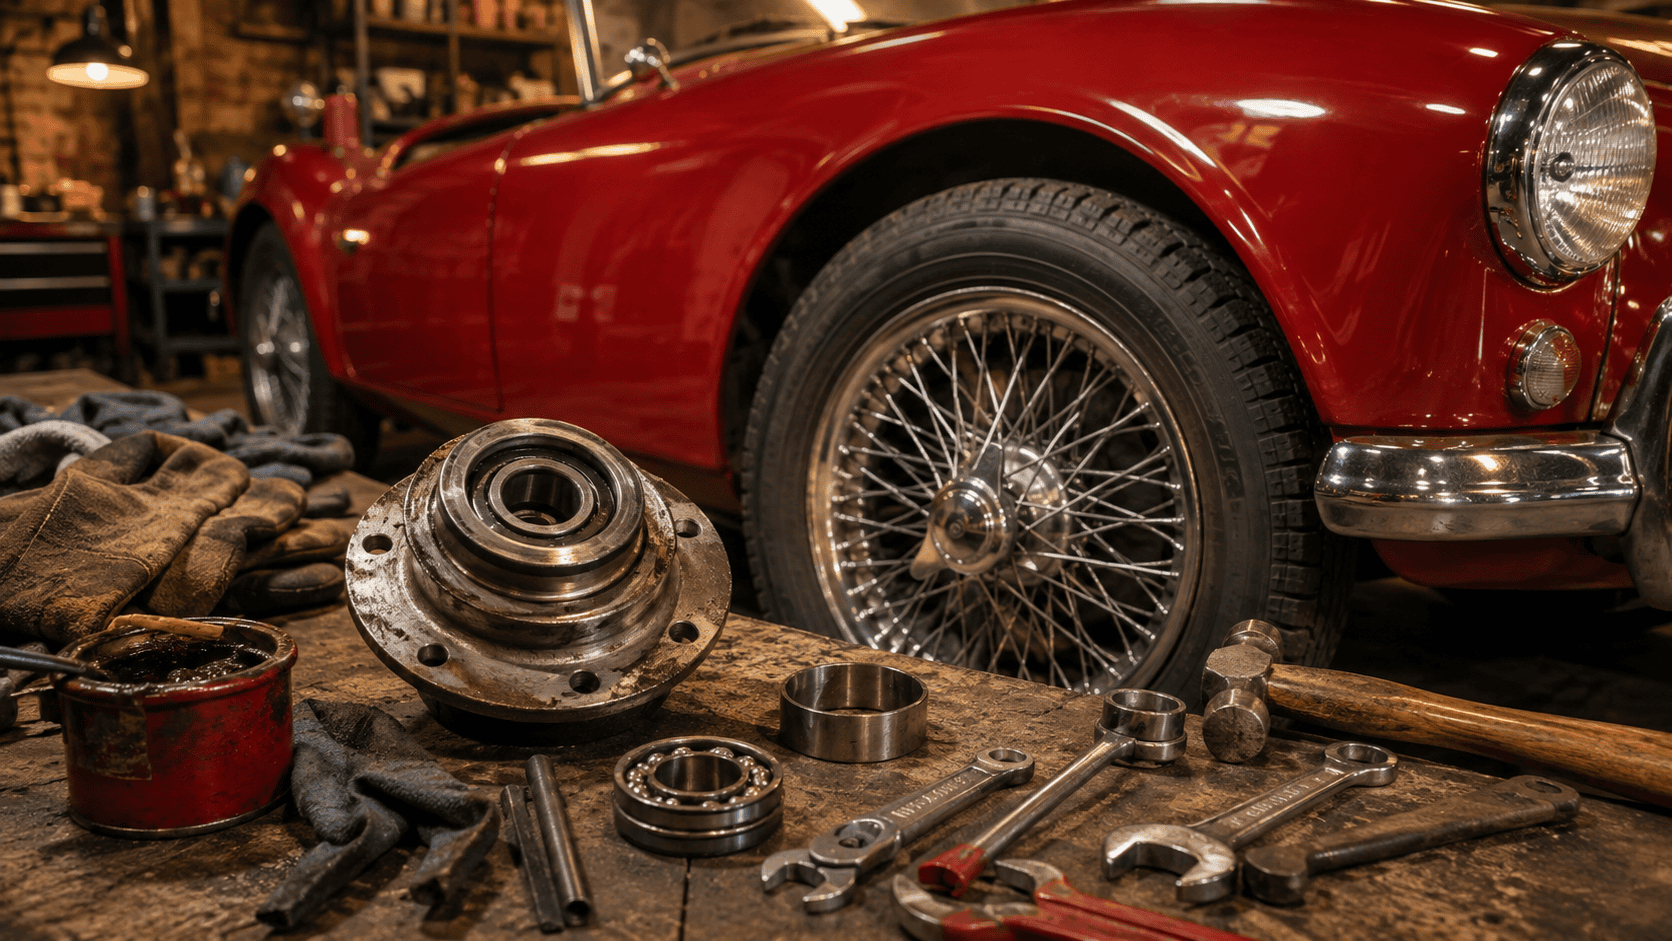
Every classic car makes noise. That is largely the appeal. But there is a difference between the noise your car is supposed to make and the noise it has started making without your permission, and a failing wheel bearing sits firmly in the second category. It starts as something you half notice on a motorway run and half convince yourself is the road surface, and it ends, if left long enough, with a wheel trying to leave the car entirely. Neither end of that spectrum is where you want to be, so here is what to listen for, how to check it properly, and how to sort it before it sorts itself.
What a wheel bearing actually does
The wheel bearing is what allows the wheel to spin freely on the stub axle or hub while carrying the weight of the car and everything it has to cope with: cornering loads, braking loads, the odd pothole you did not see in time. On the great majority of classics, that job is done by a pair of taper roller bearings, an inner and an outer, packed with grease and held in adjustment by a castellated nut and a split pin. This is worth flagging early because it is a genuinely different design to what most people are used to on a modern car. There is no sealed cartridge hub unit here that you simply unbolt and throw away. These bearings are adjustable, serviceable, and expected to be looked after rather than ignored until they fail.
That is good news in one sense: a wheel bearing on a classic rarely needs replacing purely through age if it has been greased and adjusted properly. It is bad news in another sense: neglect it, run it dry, or leave the endfloat too loose or too tight for years, and you are creating the problem yourself rather than waiting for a part to simply wear out.
What to listen for
A failing wheel bearing tends to announce itself in stages, and catching it in the early stages is the difference between a straightforward job with a bearing kit and a much more involved one with a damaged hub or stub axle.
- A low, steady hum or drone that rises and falls with road speed, most noticeable on a motorway or dual carriageway rather than pottering around town.
- A noise that changes character when you weight or unweight the affected side; try a gentle, safe weave at low speed on an empty road and listen for the note shifting as load moves from one wheel to the other.
- A growl that deepens into a grinding or knocking sound as the bearing deteriorates further; by this point the rollers have lost their even spacing and are starting to contact each other rather than running cleanly.
- Vibration through the steering wheel (front bearings) or through the seat and floor (rear bearings) that gets worse with speed.
A word of caution on diagnosis before you commit to pulling a hub apart. A worn wheel bearing sounds remarkably similar to several other things that live nearby, and getting the diagnosis wrong wastes a weekend. A worn crownwheel and pinion in the back axle produces a similar drone, but it usually changes note under acceleration and deceleration rather than purely with road speed. On cars with kingpin or trunnion front suspension rather than modern ball joints, wear there produces a knock over bumps that owners regularly mistake for a bearing problem; our suspension guide covers the difference. And on at least one popular model, worn wheel studs rather than a worn bearing are a well known cause of hub play, which is a five minute fix rather than a bearing job. If in doubt, the checks below will tell you definitively whether the bearing itself is the culprit before you strip anything down.
Checking for play: the proper way
This is a five minute job and it should be part of your routine checks alongside the items in our springtime safety check, not something you only think about once you have already heard a noise.
- Jack the car up safely under the appropriate jacking point and support it properly on axle stands. Never work under a car supported by a jack alone; our workshop safety guide covers this in more detail than we have room for here.
- With the wheel off the ground, spin it by hand and listen and feel for any roughness, notchiness or grinding as it rotates. A healthy bearing spins smoothly and quietly.
- Grip the wheel firmly at the twelve and six o’clock positions (top and bottom, not the sides) and try to rock it in and out. Any perceptible movement here, a knock or clunk as you rock it, points to bearing play rather than a healthy bearing simply settling.
- Repeat at three and nine o’clock. Movement here is more likely to be a track rod end or steering joint than a wheel bearing, so this step helps rule other components in or out.
- Compare side to side. If one wheel is noticeably looser than the other, you have found your culprit.
A small, barely perceptible amount of play is normal and by design on an adjustable taper roller bearing; they are not meant to be preloaded with zero endfloat, as that shortens their life dramatically through excess friction and heat. What you are checking for is play beyond that small tolerance, which your workshop manual will specify precisely for your model since it does vary.
Repacking and adjusting: what the job involves
If the bearing itself is sound but simply needs its grease renewing and its adjustment set correctly, which is a job worth doing on a schedule rather than waiting for a problem, here is the broad shape of it. Torque figures, endfloat tolerances and grease specification vary by model, so treat this as the sequence rather than the numbers; your manual has the numbers.
- Support the car safely and remove the wheel, then the brake drum or caliper and disc as applicable, to expose the hub. Seized retaining screws are common here; our guide to shifting seized fixings will save you some frustration if the previous owner was heavy-handed with a rattle gun.
- Remove the dust cap, split pin, and castellated nut, then draw the hub off the stub axle. The outer bearing usually comes away with the hub; the inner bearing and its seal will need to be pressed or drifted out separately.
- Clean everything thoroughly in solvent and inspect the rollers and races for pitting, discolouration from heat, or flat spots. Any of these mean the bearing is due for replacement rather than a regrease; a bearing that has been run dry or overheated once is not a bearing you want to trust again.
- Pack the bearings with a proper wheel bearing grease, working it thoroughly between the rollers by hand rather than just smearing the outside. This is genuinely one of those jobs where doing it properly by hand makes a measurable difference to bearing life.
- Reassemble, fit a new grease seal if the old one shows any sign of hardening or damage, and refit the hub.
- Adjust to the correct endfloat: typically this means tightening the nut fully while spinning the hub to seat the bearings, then backing off by a specified amount and checking the endfloat with a dial gauge if you have one, or by feel if you are experienced enough to trust it. Fit a new split pin once you are within tolerance; never reuse an old one.
Rear bearings are a more varied story depending on axle design. Some are adjustable in the same way as the fronts; others, particularly on later semi-floating axles, are a pressed fit that genuinely does need a press rather than being a driveway job. If you are not confident the bearing will come apart with hand tools and a bit of persuasion, it is worth checking your specific model’s approach before you start rather than discovering the problem halfway through with a hub in pieces on the bench.
Classic Mini Workshop’s front wheel bearing replacement, part of their ongoing project series, walks through the removal and refitting on a drum-braked front hub in more visual detail than any amount of text can manage. Worth ten minutes even if your car is not a Mini, since the taper roller principle underneath it all is shared across most of the marques covered on this site.
Tools worth having before you start
Beyond the basics covered in our tool kit essentials guide, a wheel bearing job specifically benefits from a decent set of axle stands rated for the job, a bearing race and seal driver set or a suitable socket to act as one, a torque wrench, and a supply of new split pins so you are never tempted to reuse one because the right size is not to hand. A dial gauge is not essential but takes the guesswork out of setting endfloat accurately, and if you are doing this job more than once it earns its keep quickly.
When to replace rather than repack
If you have already heard the grinding or knocking stage of the noise described above, or you find visible pitting, discolouration or flat spots on inspection, do not simply repack and hope. A bearing that has been running dry or overloaded has already had its surfaces damaged in ways that grease will not undo, and it will fail again, usually sooner than you expect. Replace both the inner and outer bearing as a set, and while the hub is apart it is sensible practice to replace both sides of the car together even if only one side was making noise, since if one has failed through age or mileage the other is not far behind.
It is a satisfying job done properly: cheap parts, hand tools, and a car that goes back to running as quietly as it did when it left the factory. Leave it too long, on the other hand, and you are looking at a scored hub or a damaged stub axle, neither of which is a cheap parts, hand tools sort of job. Listen for the hum, do the rock test on a schedule, and you will very rarely be caught out.
This page contains affiliate links. If you click a link and make a purchase, Classic Car Hub may earn a small commission at no extra cost to you.