The overdrive fault finding process follows a specific logic: hydraulic system first, electrical system second, mechanical system third. Most overdrive faults are either hydraulic (no pressure, wrong pressure, stuck valve) or electrical (no signal reaching the solenoid). Mechanical failures of the epicyclic gearset itself are relatively uncommon in units that have been maintained correctly and are the last thing to look for rather than the first. This guide works through every overdrive symptom in the order that eliminates the most common causes fastest, starting with the checks that cost nothing and working toward the ones that require tools and workshop time. For background on how the overdrive operates before fault finding, see our Classic Car Overdrive Guide.
Before doing anything else: the oil level check
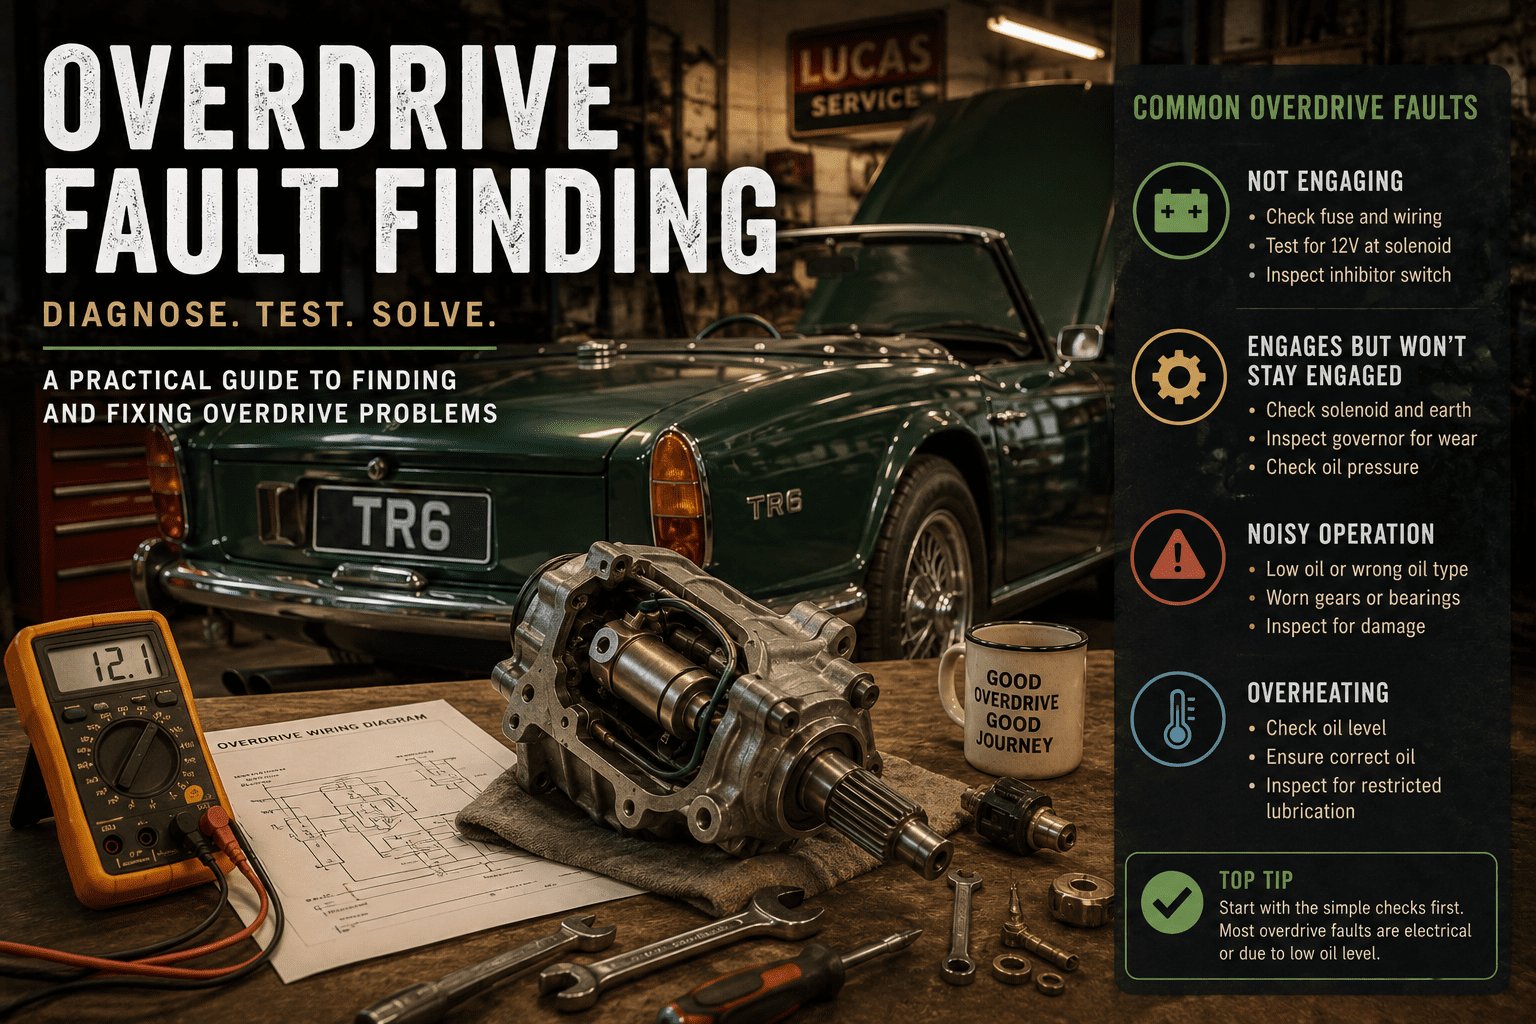
The single most common cause of overdrive failure is low oil level. The overdrive generates its working pressure from a pump driven by the output shaft, using the gearbox oil as the hydraulic fluid. No oil means no pressure, and no pressure means no engagement, regardless of how well the electrical system is functioning. Check the gearbox oil level via the level plug before any further investigation. The correct oil level is to the bottom of the level plug aperture. Top up if required with the correct oil specification for your unit: engine oil (SAE 30 non-detergent, or 10W-40 in colder weather) for A-type and J-type units, 20W-50 engine oil for LH-type MGB units. Do not use GL4 or GL5 gear oil in any Laycock overdrive under any circumstances.
If the oil level is correct and the fault persists, proceed to the systematic diagnosis below. If the oil was low, top up, run the car for five minutes to allow the pump to pressurise the accumulator, and test again before looking further.
Fault: overdrive will not engage at all
This is the most common overdrive complaint and the one with the widest range of possible causes. Work through the following sequence:
Electrical checks first
Confirm the correct gear: the overdrive will not engage in gears where the inhibitor switch prevents it. On A-type TR units this is second, third, and fourth gears. On LH-type and J-type units it is third and fourth. Attempting to engage in first, reverse, or (on some applications) second will produce no result regardless of the condition of the system.
Test for voltage at the solenoid. With the ignition on, the overdrive switch in the engaged position, and the gear lever in an eligible gear, probe the solenoid wire terminal with a multimeter set to DC volts. The reading should be close to battery voltage. No reading means no electrical supply is reaching the solenoid. A reading confirms the solenoid is being asked to operate: if the overdrive still does not engage with voltage confirmed at the solenoid, the fault is hydraulic or mechanical rather than electrical.
If there is no voltage at the solenoid, check the inhibitor switch on the gearbox. This switch is the most frequently failed electrical component in any Laycock overdrive installation. It is typically a threaded switch screwed into the gearbox casing, with one or more fibre washers beneath it that determine its operating position. A switch that is worn, incorrectly adjusted, or dirty will fail to make contact in the correct gear position and prevent overdrive engagement. To test it, temporarily bypass the inhibitor switch by connecting the solenoid wire directly to a 12V supply with the correct gear selected: if the overdrive engages, the inhibitor switch is the fault. The switch can often be cleaned or adjusted before replacement is required.
Check the relay, where fitted. Many overdrive installations include a relay in the circuit to protect the switch contacts from the solenoid’s current draw. A failed relay prevents any current reaching the solenoid. Swap the relay with a known working unit of the same specification to confirm: relay faults are more common than most owners expect, particularly on cars where the relay has been in place for several decades. On the TR6, swapping the overdrive relay with the horn relay as a temporary diagnostic measure is a standard recommendation from Triumph specialists and costs nothing to try.
Check all connections for corrosion and resistance. Bullet connectors in classic British wiring corrode at the mating face and develop resistance that reduces the voltage reaching the solenoid below the level needed to operate it. The solenoid draws significant current on initial engagement, and a connection that appears visually sound may not be passing sufficient current under load. Clean all bullet connectors in the overdrive circuit with fine emery and a small amount of contact cleaner, and test again.
Hydraulic checks if electrical is confirmed good
If voltage is confirmed at the solenoid and the overdrive still does not engage, the fault is in the hydraulic system. The most common hydraulic fault on a unit that has been stored or used infrequently is a stuck oil pump. The pump is a small piston pump driven by the output shaft: after long periods of inactivity it can stick in the down position, preventing the accumulator from building pressure. The pump cannot be operated by revving the engine; it requires the output shaft to rotate. Drive the car in direct drive at moderate speed for ten minutes and attempt to engage overdrive again. On many previously stuck pumps, this is sufficient to free them.
If the pump-up procedure does not restore engagement, pressure testing is the definitive diagnostic. A 0-600 psi pressure gauge with the appropriate adaptor fitting for your overdrive type (available from TR and MGB specialists) connects to the test point on the overdrive casing. Operating pressure with the accumulator charged should be between 400 and 450 psi for A-type and J-type units, and similar for LH-type. Pressure below 300 psi indicates a worn pump, a weak relief valve spring, or a significant internal leak. The unit will need to be opened and the pump and relief valve inspected.
Fault: overdrive engages in some situations but not others
Only works in certain gears: if overdrive engages in fourth but not third, or vice versa on a unit that should operate in both, the inhibitor switch is the first suspect. The fibre washer adjustment under the switch sets the precise position at which the switch makes contact, and a worn or incorrectly shimmed switch may contact in one gear position but not the other. Try firmly pressing the gear lever into the gate of the non-working gear while attempting engagement: if the overdrive then engages, the inhibitor switch adjustment is confirmed as the fault. Adjusting the shim thickness under the switch is the remedy.
Works when cold, fails when warm: this classic symptom points to a pump or relief valve that is adequate at cold oil viscosity but insufficient once the oil thins at operating temperature. As oil heats it flows more readily, and a worn pump that barely maintains adequate pressure with cold oil cannot maintain it with warm oil. Pressure testing at operating temperature confirms this: pressure that reads correctly cold but drops below 350 psi when warm indicates pump wear. The relief valve spring, if weak, can also allow pressure to bleed off faster than the pump can restore it when the oil is warm and thin.
Works intermittently with no apparent pattern: intermittent faults of this type are almost always electrical, and almost always at a connection rather than a component. A bullet connector that makes intermittent contact depending on vibration and temperature is the most common specific cause. Go through every electrical connection in the overdrive circuit and clean or replace each one. The inhibitor switch itself can also develop intermittent contact: the switch contacts corrode and may connect only when the gear lever happens to press the switch at a particular point. Bypass the inhibitor switch temporarily to confirm whether removing it from the circuit eliminates the intermittent fault.
Fault: overdrive will not disengage
An overdrive that engages correctly but refuses to disengage is a less common but distinctly inconvenient failure. Decelerating from overdrive top gear in traffic with no engine braking and no way to select a lower ratio until the car slows is the operational result, which focuses the mind on rectification rather sharply.
The most common cause is the cone clutch sticking to the annulus. This happens when the friction surface of the cone clutch becomes slightly glazed or contaminated, causing it to bond to the annulus under the pressure of engagement and refuse to release when the pressure is removed. The standard remedy before any mechanical investigation is to drain the gearbox oil and refill with automatic transmission fluid (ATF). Run the car for 50 to 100 miles, engaging and disengaging the overdrive repeatedly. The ATF’s detergent properties clean the cone clutch face and in most cases restore normal release. Once the fault is resolved, drain the ATF and refill with the correct oil specification. ATF is a diagnostic and remedial fluid in this context, not a long-term lubricant for the overdrive.
If the cone clutch treatment does not resolve the sticking, the solenoid itself may be failing to return to the rest position, holding the operating valve open. Remove the solenoid and check that the plunger returns freely under spring pressure with no electrical supply connected. A plunger that sticks in the extended position needs cleaning or replacement of the solenoid assembly. Check also that the correct ball bearing is seated above the solenoid plunger: a missing ball bearing prevents the hydraulic circuit from closing correctly when the solenoid is de-energised.
Fault: overdrive slips under load
Overdrive slipping, where the unit appears to engage but allows the engine to rev freely under load rather than transmitting drive through the overdrive ratio, indicates either insufficient hydraulic pressure or a worn cone clutch that cannot maintain engagement under torque. The two are connected: insufficient pressure causes the cone clutch to slip, and repeated slipping under low pressure wears the cone clutch further. Confirming pressure first via gauge testing is essential before assessing the clutch condition, because rebuilding the clutch on a unit with insufficient pressure will simply recreate the same slipping within a short time.
Pressure above 450 psi with continued slipping points to a contaminated or worn cone clutch that needs mechanical attention. Pressure below 350 psi points to the pump or relief valve. A pressure reading of 600 psi or above indicates the relief valve is stuck or incorrectly adjusted: excessive pressure is as problematic as insufficient, as it causes excessive wear on the clutch components and prevents the unit from disengaging smoothly.
Fault: freewheel on deceleration
On A-type overdrive units, freewheeling on deceleration when overdrive is engaged is normal. The A-type uses a one-way roller clutch that disengages when the engine decelerates below road speed, allowing the car to coast without engine braking. This is a feature, not a fault. Experienced owners of A-type cars expect and account for it.
On LH-type and J-type units, which should provide engine braking in overdrive, freewheeling on deceleration is not normal and indicates failure of the one-way roller clutch assembly within the overdrive unit. The roller clutch is a wear item that deteriorates with age and mileage, particularly on units that have been operated with contaminated or incorrect oil. Restoring engine braking on an LH or J-type unit with this fault requires the overdrive to be opened and the roller clutch assembly inspected and replaced as necessary.
Fault: overdrive engages in reverse
Overdrive engaging when reverse gear is selected indicates a failed inhibitor switch that is stuck in the closed position, feeding current to the solenoid regardless of gear selection. In standard operation the inhibitor switch should cut the overdrive circuit when reverse is selected. A switch stuck closed in this condition is a safety concern: the overdrive was not designed for reverse gear loads and engaging it in reverse under power risks damage to the unit. Disconnect the overdrive electrical circuit until the inhibitor switch is replaced.
Preparing a stored unit for use
A car that has been stored for a significant period may have an overdrive pump that has stuck in the down position and an accumulator that has lost its charge. The pump-up procedure before first use after storage minimises the risk of the unit being asked to engage before adequate pressure is available.
Check and top up the oil level before moving the car. Start the engine and drive in direct drive at moderate speed for at least ten minutes before attempting overdrive engagement. This gives the pump time to free itself and build accumulator pressure. When first attempting engagement, do so gently in third gear at low road speed rather than at high speed in fourth: the initial cone clutch engagement with a freshly primed accumulator is more controllable at lower speeds. Do not engage and disengage rapidly in quick succession on first use after storage: allow the accumulator to fully recharge between each engagement by driving in direct drive for thirty seconds between attempts.
When to rebuild versus replace
Laycock overdrive units are rebuildable and rebuild kits containing cone clutch linings, O-rings, gaskets, and roller clutch components are available from the major British classic car suppliers. The rebuild procedure is within the capability of a competent home mechanic with access to the relevant workshop manual, a clean workbench, and the patience to photograph every stage of disassembly. The unit can be rebuilt in place on the car on most applications, which removes the need to separate the gearbox from the engine.
A complete replacement unit from a working car is an alternative where the time and specialist knowledge for a rebuild are not available: overdrive gearboxes appear regularly at autojumbles and through marque clubs, and a known-good unit can be swapped with modest mechanical skill. The main requirement is confirming that the replacement is the correct type for the car and gearbox: A-type, D-type, LH-type, and J-type units are not interchangeable, and even within types, different adaptor plates are used for different applications.
For professional overdrive work, the Triumph specialists Revington TR and Rimmer Bros both have extensive experience with A-type and J-type units. For MGB overdrive work, Moss Europe and Brown and Gammons are the principal suppliers of parts and technical advice for D-type and LH-type applications. The relevant marque club technical helplines are also worth consulting before committing to either a rebuild or a replacement.
For related reading: our Classic Car Overdrive Guide explains how the overdrive works in detail before the fault finding starts, our classic car electrical fault finding guide covers the voltage drop and continuity tests relevant to the overdrive circuit, our gearbox and differential oil guide covers oil specifications in detail, and our TR6 and MGB buyers guides cover the cars on which these units are most commonly encountered.
This page contains affiliate links. If you click a link and make a purchase, Classic Car Hub may earn a small commission at no extra cost to you.