
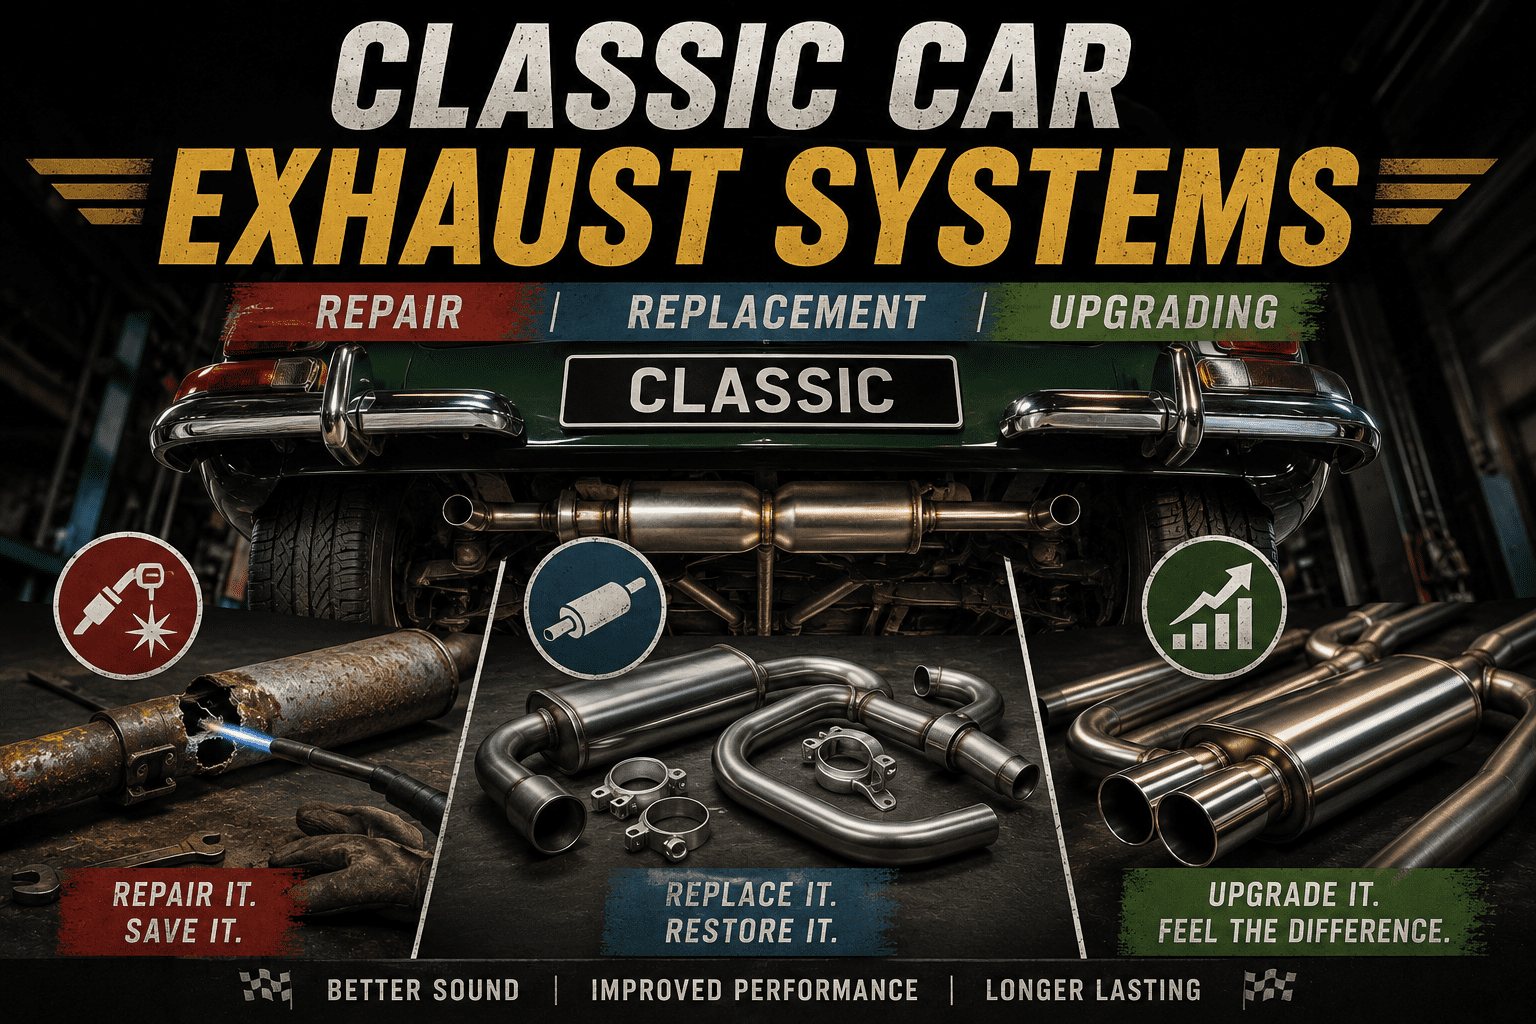
The exhaust system is the most honest component on a classic British car. It makes no attempt to conceal its condition. It announces its failings audibly, visibly, and in some cases olfactorily, and it tends to do so in exactly the situations where a quiet, discreet failure would have been preferable: the car park at a show, the queue of traffic through a village, the moment you decide to accelerate past something. A blowing exhaust does not wait for a convenient moment. It simply blows.
This guide covers the complete exhaust system on a classic British car: what is there, what it does, how to replace it, what to replace it with, what to do when it fails unexpectedly, and what happens if you decide a standard system is no longer sufficient. The bodging section is included because it is the section most likely to be needed at the shortest notice, and because pretending that every classic car owner approaches every repair with the correct parts and unlimited time would be a work of fiction dressed as a workshop guide.
Mild steel versus stainless: the honest version
Every exhaust supplier will, if given the opportunity, make a compelling case for their particular product. The following is the version without the sales copy.
Mild steel is cheap, widely available, and will rust. In the UK, where road salt is applied to public roads between October and April with an enthusiasm that borders on the evangelical, a mild steel exhaust on a car used in winter will last between two and four years before the corrosion penetrates the pipe walls. On a car garaged from October to April and used only in summer, the same system will last considerably longer, since road salt rather than moisture is the primary enemy. A mild steel system for a common classic like an MGB costs between £80 and £130 from the major suppliers. If the car is being sold, if money is genuinely short, or if the car is simply not used in conditions that would accelerate corrosion, mild steel is a legitimate choice. It is not the wrong answer. It is the cheaper answer with a known expiry date.
Stainless steel is more expensive and lasts significantly longer. A properly manufactured 304 grade stainless system will outlast the rest of the car in normal conditions, with a realistic service life of ten to twenty years. The grade matters: 304 stainless (18 percent chromium, 8 percent nickel) is the standard for most classic car exhaust suppliers and handles the UK climate well. 316 grade adds molybdenum, which improves resistance to chloride attack specifically, making it the better choice for cars used in coastal areas where salt air is persistent. 409 grade stainless is magnetic (testable with a fridge magnet) and used primarily on budget OEM replacement systems: it is better than mild steel but noticeably inferior to 304 and not the material you want if you are paying stainless prices. When buying a stainless system, confirm the grade before ordering rather than assuming that “stainless” means 304. It does not always.
The price difference is real: a stainless system for the same MGB costs between £250 and £400 depending on the supplier and specification. Spread over twenty years of service, this compares well with replacing a mild steel system every three years. Spread over the next eighteen months because you are spending everything on the gearbox, it is a different conversation entirely. Both options are available. Neither is wrong. Know which one you are buying.
Understanding what you are replacing
A classic British car exhaust system runs from the exhaust manifold on the engine, through a downpipe, through one or more silencers, and out to the tailpipe at the back. Each junction between components is a potential leak point. Each section hangs from the bodywork on rubber-mounted hangers that absorb vibration and allow the system to expand and contract thermally. The system runs close to the bodywork floor and sills on most classic British cars, which means it is exposed to everything the road throws up from below.
The weakest points in a typical classic car exhaust system are, in order of frequency of failure: the silencer body (rots from inside through condensate accumulation), the joints between components (leak before they fail structurally), the hangers (crack and split with age and heat cycling), and the downpipe (takes the most heat and often the most corrosion). The manifold itself, being cast iron on most classic British applications, is remarkably durable and typically outlasts everything downstream of it, though cracked manifolds exist and the gaskets between the manifold and head need periodic attention.
Fitting a new system: loose first, tight later
The single most important instruction in fitting a new exhaust system is this: hang everything loosely before tightening anything. Do not tighten the manifold connection and then try to route the downpipe to meet the mid-section, because the mid-section will be approximately three centimetres in the wrong direction and you will spend a frustrating hour discovering that tightening the first joint last would have allowed the alignment to sort itself out. Fit all components to their hangers with all joints loosely assembled, check alignment and clearances from above and below, and only then tighten from front to rear. This takes more time in the setting-up phase and significantly less time overall. It is also the only approach that reliably produces a system that does not rattle against the floor because one section is running two centimetres off-line.
The full fitting sequence: disconnect battery before starting any work near the fuel system. Raise the car on axle stands with adequate clearance to work underneath. Remove the old system completely, cutting if necessary, noting how each section ran and how each hanger was positioned. Wire-brush or grind the manifold flange to clean metal. Check the manifold face for warping with a straight edge: a warped manifold face will blow any gasket regardless of what it is made from and should be skimmed before the new system is fitted. Fit the new manifold gasket dry on most cast iron manifold applications: exhaust gasket sealant is appropriate on some specific joints but causes as many problems as it solves if used indiscriminately, and the manufacturer’s instructions for the gasket are more reliable than optimism.
Fit the new manifold to downpipe connection first, finger-tight. Hang all remaining sections on their new rubber hangers, again finger-tight. Check clearances: minimum 20mm between any part of the exhaust and any part of the floor, bodywork, or fuel line. Adjust hanger positions as needed. Tighten from the manifold rearward. Start the engine cold and listen for leaks at every joint. When the system has reached full operating temperature, recheck all joint clamps: thermal expansion changes things and a joint that sealed cold may have opened slightly as the system heated. This second check is not optional. It is the step that separates a system that develops a slight blow within a week from one that seals properly and stays sealed.
Hangers and mountings: the part nobody thinks about until it rattles
Exhaust hangers are rubber-mounted brackets that suspend the system from the bodywork and allow it to expand, contract, and vibrate without transferring that vibration into the car. Old rubber hangers crack, stiffen, and split. A hanger that has been in place for twenty years has experienced tens of thousands of heat cycles and is unlikely to be in the same condition as when it was fitted. Replace all rubber hangers whenever the exhaust system is replaced. They cost pennies from any motor factor, require no special tools to fit, and failing to replace them is the most common reason a new exhaust system develops a rattle within six months of fitting.
Before fitting new hangers, check the mounting points in the bodywork. A hanger mounted to a corroded section of floor has a limited future: the metal around the mounting hole will eventually fail, usually by tearing through, and the system will drop. If the mounting point is rusty, treat and reinforce it before the new system goes on rather than after the system has dropped onto the road, which is the alternative timetable. On cars with known floor rust problems (which includes most of the classic British cars on the road), inspecting the hanger mounting points as part of an annual service is worth ten minutes of anyone’s time.
Manifold gaskets: the stud problem
The exhaust manifold gasket seals the joint between the cast iron manifold and the cylinder head. On a classic British car that has not been disturbed since manufacture, the manifold studs have been in the head for somewhere between thirty and sixty years. They have experienced thermal cycling, corrosion, and the attentions of previous owners who may or may not have had an appropriate sense of how much force was required. Removing them without damage is the main risk in any manifold gasket replacement.
Apply penetrating oil to each stud nut at least forty-eight hours before attempting removal. Plusgas is the product of choice in most classic car workshops. WD-40 is a water displacer and a rust preventer but is not a penetrating oil in any meaningful sense: it will not free a corroded stud in the way that Plusgas will, regardless of how much is applied or how optimistically it is applied. Soak the threads, leave it overnight, apply again in the morning, and attempt removal the following day. A stud nut that has had forty-eight hours of Plusgas treatment and comes off with a socket and steady pressure is a success. A stud nut approached cold with a ring spanner on a Monday morning by someone who needs the car back by Tuesday is a broken stud waiting for its moment.
A broken stud in the cylinder head is not the end of the world but it is the end of the afternoon and the beginning of a more involved job. Stud extraction kits, left-hand drill bits, and Ezy-Out extractors address the problem in most cases. A stud broken below the surface of the head, in a position where the extractor cannot get purchase, requires a specialist with a drill stand and the patience to extract the broken piece without damaging the thread in the head. This is the outcome that penetrating oil, patience, and heat from a blowtorch applied to the nut before removal are specifically designed to prevent.
Gasket types: standard paper and composite gaskets are correct for most classic British exhaust manifold applications. Multi-layer steel (MLS) gaskets are more durable and appropriate for manifolds that have blown repeatedly or applications with increased power. Copper gaskets are used in competition applications and can be annealed and reused. Do not apply exhaust sealant to a manifold gasket as a precautionary measure: the thermal cycling destroys the sealant bond and can make subsequent removal significantly more difficult without providing meaningful additional sealing on a correctly prepared joint.
Silencer options and exhaust tone
The silencer on a classic British car was designed to reduce exhaust noise to a socially acceptable level for a car of its era, which in practice means it is quieter than a modern performance car and slightly louder than a modern saloon. Replacing it with a direct equivalent produces the same tone. Replacing it with something less restrictive produces more noise and a different character, the desirability of which varies by owner and application.
Sports silencers use larger-bore piping, less internal baffling, or straight-through absorption design (a perforated pipe surrounded by glass fibre packing) to reduce back pressure while maintaining some noise attenuation. The note is deeper and more present than standard without being antisocial in most installations. Many suppliers offer the option as part of a complete system, and it is the most common upgrade for owners who want the car to sound like it means business without sounding like it has abandoned the silencer entirely.
Straight pipes with no silencer are not road legal in the UK and produce a sound that accurately communicates their legal status to anyone within approximately three postcode areas. This is not the route for a road car. The track is a different matter and nobody’s business in the paddock, but on the public road the Construction and Use Regulations are relevant and enforceable.
One specific silencer failure worth knowing about: the internal baffle rattle. When the baffles inside a silencer corrode, break free, and begin moving, the result is a rattling or drumming noise from the silencer at certain engine speeds. This sounds alarming and is sometimes diagnosed as something significantly more serious and expensive. It is not. It is a silencer with a broken internal structure that needs replacing. The sound is distinctive once you have heard it described: a loose, metallic rattle that changes frequency with engine speed and that can sometimes be reproduced by rocking the car while holding the silencer body. A replacement silencer resolves it entirely.
Noise, the law, and the practical position
UK noise regulations for vehicles are slightly more nuanced than most people realise. The current limit for new passenger cars is 74 dB(A), established in 1996 and reducing to 68 dB(A) by 2026. The key point for classic car owners is that vehicles are required to comply with the noise standard that applied when they were manufactured, not the current limit for new vehicles. A car manufactured in 1965, when the applicable limit was 82 dB(A), is not required to be as quiet as a car made under 1996 regulations. What is required, under the Construction and Use Regulations, is that the car should not be made louder than it was at the time of original manufacture. The law prohibits making a vehicle noisier than its original specification. It does not require it to be as quiet as a modern one.
In practice, the MOT test assesses exhaust noise on a broadly subjective basis: excessive noise is a failure, where excessive is judged by the tester against what would be appropriate for the vehicle type and age. A classic sports car with a slightly sporting exhaust note is unlikely to cause a problem unless it is genuinely antisocial in character. A classic sports car with an unmuffled straight pipe is going to have a conversation with the tester and will not end that conversation with a pass certificate.
The practical guidance: a standard replacement or mild sports exhaust on a classic British car presents no noise regulation problems. A radical upgrade to a high-flow system with a minimal silencer may need consideration. Anything that makes the neighbours come to their windows when you start the car on a Sunday morning is operating in a zone where the law may eventually form an opinion. If in doubt, a reputable exhaust specialist will advise on whether a specific combination is likely to cause issues before money is committed.
Performance upgrades: manifolds and gas-flowing
The standard exhaust manifold on most classic British cars is a cast iron unit designed to package compactly, last indefinitely, and manage heat without drama. It does all of these things reliably and at the cost of being moderately restrictive of exhaust gas flow, particularly at higher engine speeds where the scavenging effect of a well-designed tubular manifold becomes significant. For a standard road car, the factory manifold is not the primary restriction on performance. For a car that has had carburation, ignition, or head work done, the manifold may well become a bottleneck worth addressing.
MGB specific manifold options
The B-Series engine in the MGB responds well to a tubular exhaust manifold. The standard four-branch cast manifold is functional but leaves measurable power on the table at the top end. Maniflow, one of the UK’s most respected manufacturers of classic car performance exhaust systems, produce four-into-one and four-into-two-into-one systems for the MGB in both mild steel and stainless. The four-into-one (4-1) configuration, where all four primary pipes merge into a single collector, maximises top-end flow and is appropriate for an engine that has been built for higher-rpm performance. The four-into-two-into-one (4-2-1) configuration pairs adjacent cylinders before merging, which produces better low and mid-range torque at the cost of some top-end breathing: this is the better choice for a road car that is driven in traffic as well as on good roads, and the difference in everyday driveability is noticeable.
Triumph TR series specific options
The Triumph TR4, TR5, and TR6 share similar exhaust manifold considerations. The TR6 in particular benefits from improved exhaust flow given the engine’s willingness to rev, and tubular manifold options are available from Rimmer Bros, Moss Europe, and various specialists. As with the MGB, the 4-2-1 configuration is generally preferred for road use on the TR series: the low-end torque characteristic of the six-cylinder engine is one of its best features and should not be sacrificed for top-end numbers that will only be used on track days.
One practical note on tubular manifold installation: check clearances carefully before ordering. Tubular manifolds are physically larger than the cast iron originals and may require heat shielding to protect adjacent components, including the brake master cylinder on some applications. Suppliers generally specify this, but confirming with the supplier or the relevant owners club before fitting avoids the discovery that the manifold clears everything in the engine bay except the one component it would be most inconvenient to have it touch.
Gas-flowing: what it actually means
Gas-flowing the exhaust manifold means removing casting flash from the internal surfaces, smoothing port entries and exits, blending the merges, and ensuring consistent port sizing throughout. The result is reduced turbulence in the exhaust gas flow, which improves scavenging efficiency and reduces restriction at high flow rates. It is genuine work that produces genuine results, particularly on cast iron manifolds where the original casting quality was variable.
The important caveat: gas-flowing the exhaust manifold in isolation, on an otherwise standard engine, produces modest results. The exhaust manifold is rarely the primary restriction on a standard classic British engine: the cylinder head ports, valve sizes, and carburation are typically larger limiting factors. Gas-flowing the manifold as part of a comprehensive engine build, alongside head work and carburation improvements, produces proportionally better results because all the restrictions are being addressed together. As a standalone modification on a standard engine, it is satisfying work that makes a small measurable difference. As part of a properly sequenced engine build, it is worthwhile and appropriate. The distinction is between spending money on the right thing and spending money on the most visible thing.
Bodging and temporary repairs: the honest section
The ideal response to a failing exhaust is to obtain the correct replacement system, schedule the work at a convenient time, and fit it properly following the guidance above. This is not always the situation. Sometimes the exhaust blows on a Wednesday evening in a supermarket car park sixty miles from home. Sometimes it is discovered during the pre-MOT inspection at a point where the budget for the month has already been allocated. Sometimes it falls off on the A59 on a Saturday afternoon and you have to get home. This section addresses those situations without pretending they do not exist.
Finding the leak
Before applying any repair, locate the fault. Start the engine cold and listen for a rhythmic puffing or hissing that coincides with engine pulses. Move a hand near joints and connections along the system (not near the manifold, which will be hot within seconds of starting: a burned hand is not a diagnostic tool). Carbon staining, which appears as a black sooty deposit around a joint or hole, indicates where exhaust gas has been escaping. Note that old carbon staining may be from a previous leak that was addressed: new active leaks produce fresh, dry, sooty deposits rather than old baked-on ones. Confirm the source before applying the repair.
Exhaust repair putty and bandage
Holts Gun Gum exhaust repair putty is applied to clean metal around a small hole or joint, smoothed over the defect, and cured by heat when the engine runs. It works, for a period. That period is somewhere between three months and three years depending on where it is applied, how large the defect was, and whether the joint experiences movement or vibration. Applied to a small hole in a mid-pipe where the metal is otherwise sound and the joint is stable, it can last a surprisingly long time. Applied to a joint that moves, to a manifold temperature area where the heat exceeds its working range, or to metal that is largely rust with an optimistic coating of putty on top of it, it will not see out the month. It is better than nothing. It is not a repair.
Exhaust repair bandage (HoldTite, Holts Exhaust Bandage) is fibreglass bandage soaked in water and wrapped tightly around a crack or hole in a pipe. When heated by the exhaust, it cures into a rigid sleeve. It is more durable than putty, handles larger defects, and is the better choice for a split pipe or a crack in a straight section. It cannot bridge a joint, cannot seal a loose connection, and should not be applied to the high-temperature areas near the manifold without checking the product’s temperature rating. A correctly applied exhaust bandage on a suitable defect is a repair that can last a year or more. It is not a permanent fix, but it is honest about what it is and generally delivers what it promises.
The jubilee clip solution
A loose or blowing joint in the mid-section or silencer area can sometimes be tightened with a jubilee clip around the outside of the joint, compressing the connection and restoring a seal. This works when the pipes are still in acceptable condition and the joint is simply loose rather than corroded through. It does not work when the pipe has rusted to the point where the clip compresses rust rather than metal. It does not work on a joint that is physically misaligned rather than just loose. When it does work, it can last for a considerable time, which is why a significant proportion of classic cars on the road have at least one jubilee clip somewhere in the exhaust system that has been there since a previous owner’s temporary repair and has quietly become permanent through the passage of time and the reluctance to disturb something that seems to be managing.
The blown manifold gasket: no shortcuts
A blowing exhaust manifold gasket produces a rhythmic ticking or chuffing sound from the engine that is worse when cold and reduces as the engine warms and the manifold expands to compress the joint. It may stop entirely when the engine is fully warm, leading to the conclusion that it has gone away. It has not gone away. It is biding its time. There is no effective temporary repair for a blown manifold gasket that does not involve removing the manifold. Exhaust putty applied to the outside of the joint will seal it briefly before the thermal cycling destroys the repair. Wire wool, high-temperature sealant, and a positive attitude will not address a joint that needs a new gasket and a properly prepared face. The manifold must come off, the face must be checked, the gasket must be replaced. This is the job that cannot be deferred indefinitely without the symptoms becoming worse and the manifold face accumulating damage that makes the eventual proper repair more complex. The temporary repair for a blown manifold gasket is: book the job for the weekend and drive carefully until then.
What to carry for roadside emergencies
A small tin of Gun Gum exhaust repair putty, a roll of exhaust repair bandage, two jubilee clips in appropriate sizes for the car’s mid-section pipe diameter, and a handful of wire wool will address most roadside exhaust failures sufficiently to get the car home or to a garage. None of these items costs more than a few pounds. They fit in a small bag in the boot alongside the breakdown kit, and the owner who has them and never uses them has spent less than the cost of an hour’s roadside assistance. The owner who does not have them and needs them will spend that hour discovering the nearest motor factor’s opening hours and whether they stock exhaust bandage at short notice. Our classic car breakdown kit guide covers the complete list of what is worth carrying.
Maintenance and inspection
The exhaust system should be inspected visually every time the car is raised for any work underneath it. Look for surface rust on mild steel systems (acceptable), through-rust or holes (not acceptable), loose or broken hangers, cracks in the silencer body, and carbon deposits at joints indicating leaks. A system that is inspected regularly and treated with a wire brush and high-temperature paint on any developing rust spots will last longer than one that is ignored until it fails. On a stainless system, inspect the weld joints specifically: even quality stainless can develop weakness at welds where the heat-affected zone is less resistant than the parent material.
For related reading: our rust prevention guide covers the treatment and protection relevant to underbody components including the exhaust mountings, our workshop safety guide covers the precautions relevant to working under a raised car and with hot components, our springtime safety check includes the exhaust inspection as a standard annual item, and our seized nuts and bolts guide covers the penetrating oil and extraction procedure that will be required for manifold stud removal on most classic cars that have not been recently serviced.
This page contains affiliate links. If you click a link and make a purchase, Classic Car Hub may earn a small commission at no extra cost to you.