
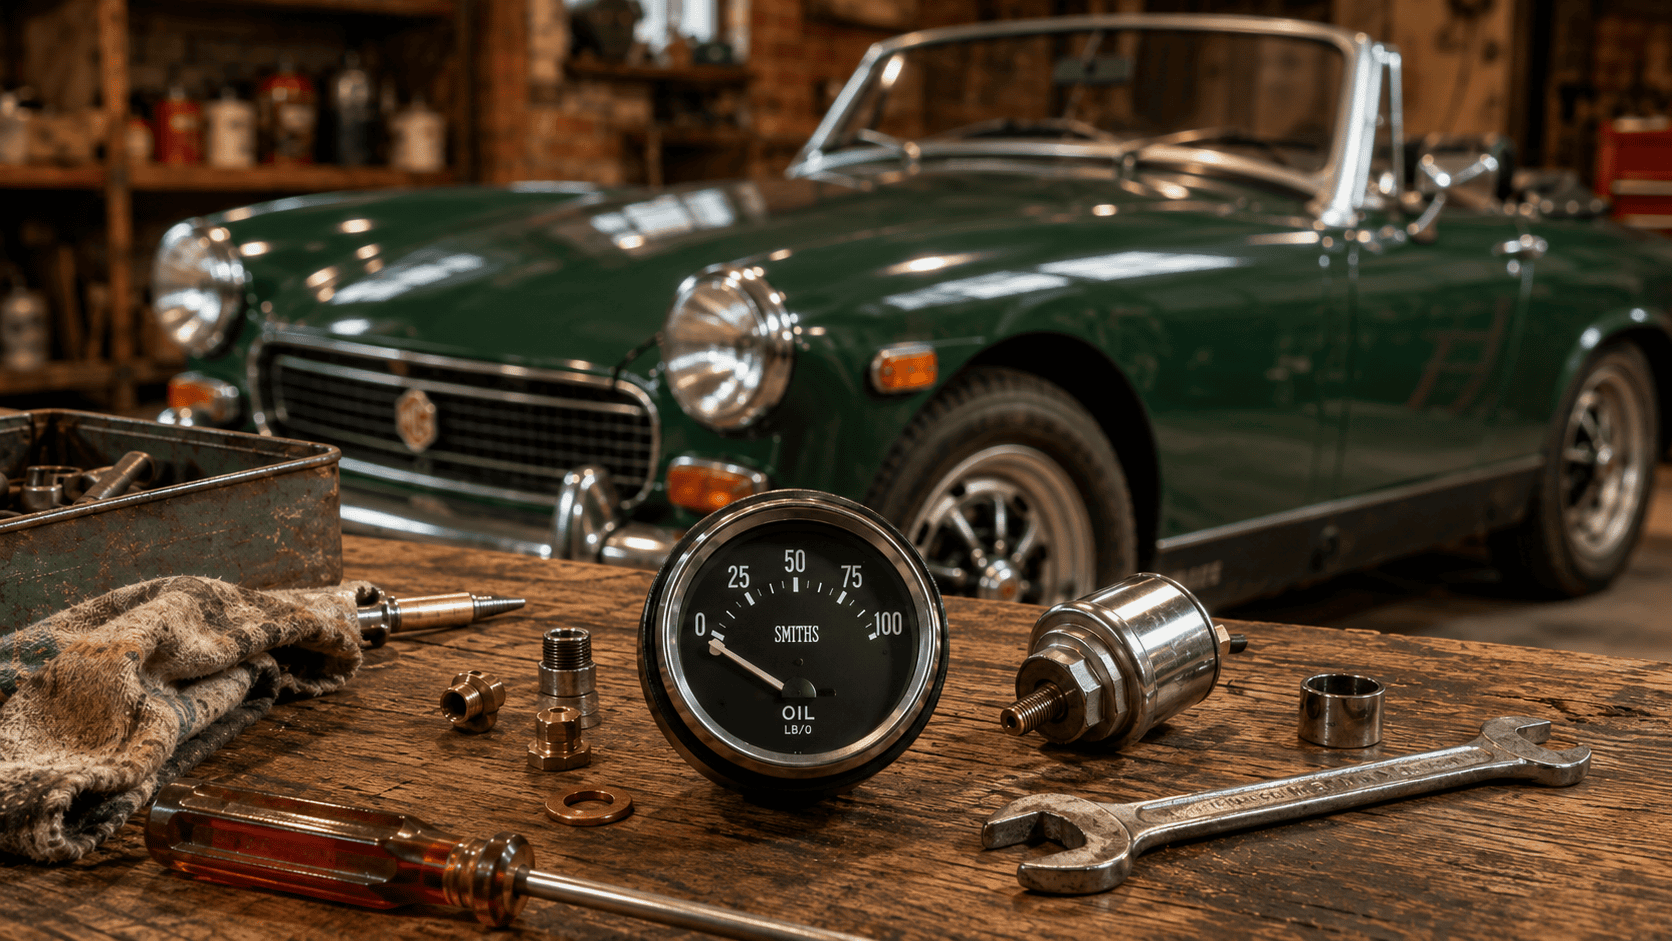
Of all the dials on a classic dashboard, the oil pressure gauge is the one that actually matters. The fuel gauge tells you when to stop for petrol. The temperature gauge tells you when to stop for a cup of tea and a long look at the radiator. The oil pressure gauge tells you if your engine is about to become a very expensive paperweight. It deserves more attention than most owners give it, and it is one of the few gauges on a classic that is genuinely worth understanding properly rather than just glancing at.
I am using the BMC A-series as our example here, since it is an engine many of our readers are likely to be staring at, fitted as it was to A-series-powered versions of the classic Mini, the Morris Minor, the MG Midget, and the Austin-Healey Sprite among others (not every version of every car: the later Midget, for instance, moved to the Triumph 1500 unit). But almost everything below applies just as well to any forced-lubrication engine of the period. The principles do not change; only the numbers do.
What the gauge is actually measuring
Oil pressure is not created by the oil pump on its own. The pump simply moves oil; pressure is what builds up when that flow is forced through a restriction, namely the tight clearances in the main bearings, big end bearings, and camshaft bearings. Healthy clearances mean healthy resistance, which means healthy pressure. As those clearances wear and open up over the years, more oil escapes past the bearings before it can build pressure, and the reading on your gauge drops accordingly. This is the single most important thing to understand about the gauge: it is not really a readout of how hard the pump is working, but of how much resistance the whole system can still muster, and bearing wear is one of the main things that erodes that resistance over a car’s life.
That idea explains a good deal of what your gauge is telling you, but it is not the whole picture. The main mechanical suspects for low pressure include pump wear and a tired relief valve, both of which reduce the pressure the system can build in exactly the same way worn bearings do, along with oil level and grade, and a blocked or sludged suction pickup. So a low reading is a list to work through rather than a direct verdict on your bottom end. What the wear angle is useful for is pattern reading: a reading that drops gradually over years, mainly at idle once the engine is hot, points more towards bearing wear announcing itself early. A reading that drops suddenly points somewhere else: most often oil loss, a pump or pickup problem, a relief valve fault, or simply the instrument itself.
Mechanical or electrical: what is actually behind your dial
Classic instrument panels use one of two genuinely different systems, and it is worth knowing which one you have before you start troubleshooting, since the failure points are completely different.
- Mechanical gauges use a fine capillary pipe running oil directly from the engine to a Bourdon tube behind the dial. There is no electrical connection involved in the reading itself. These are simple and generally reliable, but the reading depends on that pipe and the gauge mechanism being sound: a slow leak at a pipe union, a kinked or blocked line, or a tired Bourdon movement can all give a misleading reading that has nothing to do with your actual oil pressure.
- Electrical gauges use a sender unit threaded into the block or the oil filter housing, feeding a signal to a gauge on the dash. Depending on the system, that sender may be a resistive type or a pressure transducer, so it is worth identifying which you have before testing it. Either way, the electrical route introduces several points that can fail without the engine itself having any problem at all: a corroded earth, a dirty or faulty sender, wiring faults, or a worn-out gauge movement. It is also worth checking the wiring diagram for your particular car rather than assuming the oil pressure gauge shares the voltage stabiliser used by the fuel and temperature gauges; on many classics it does not.
This distinction matters because it changes where you start looking when a reading goes wrong. If your gauge is mechanical, the fault is usually a pipe or union problem, the gauge mechanism itself, or a genuine engine problem. If it is electrical, you have a whole extra circuit, sender, earth and gauge, to rule out before you even start thinking about bearings.
What a healthy reading actually looks like
There is no single correct figure, since it depends on the specific engine, oil grade, temperature, and engine speed, and the honest answer is that your own workshop manual is the authority here rather than any rule of thumb. The factory figures give a sense of the range: classic Mini manuals quote normal running pressure in the region of 60 to 70 psi depending on variant, with minima around 15 psi at idle quoted for some versions, while the Morris Minor manual specifies not below roughly 40 psi at normal road speed and around 20 psi at idle. The common “10 psi per 1,000 rpm” figure you will hear quoted is a useful informal rule of thumb rather than a factory specification, so treat it as a rough sanity check, not a target. The key point is that a hot idle reading in the region of 15 to 20 psi can be entirely normal on an A-series depending on the installation, so do not panic at a figure that your own manual may well consider perfectly acceptable.
What matters more than any single number is the pattern, read against your own manual’s figures. A reading that starts high when cold and settles lower once the oil thins with heat is completely normal. A reading that is genuinely below your manual’s minimum across the whole rev range, cold or hot, is not. And a reading that was previously healthy but has gradually dropped away specifically at idle after a long drive, over months and years, once the oil is at its thinnest and the bearings at their hottest, is the classic early sign of bearing wear rather than a fault as such: worth watching, not yet worth panicking about.
Fault finding: rule out the messenger before you blame the engine
The single most useful thing you can do when a reading looks wrong is also the thing most owners skip: confirm it with an independent gauge before you assume the worst. A cheap mechanical test gauge, connected at the pressure sender or switch port (a tee piece lets you keep the original sender in place while you do it), tells you within minutes whether you have an oil pressure problem or a gauge problem, and it can save you from pulling an engine that was never actually in trouble.
- Check the boring things first. Confirm the oil level on the dipstick, confirm you are running the correct viscosity for the climate and engine condition, and confirm the filter was actually changed at the last service. A part-full sump or the wrong grade of oil will produce a genuinely low reading with nothing mechanically wrong.
- Fit a mechanical test gauge. If the test gauge agrees with your dash gauge, you have a real oil pressure issue and can move on to the steps below. If it disagrees significantly, the fault is in the gauge, sender, wiring, or capillary pipe, not the engine, and you can stop worrying about bearings.
- On electrical systems, check the circuit. Check your car’s wiring diagram to see whether the oil gauge is fed through the voltage stabiliser or takes a direct supply. If it runs through the stabiliser, a simultaneous fault across the fuel, temperature and oil gauges together points straight at that stabiliser. If it takes a direct supply, a fault on the oil gauge alone points instead towards a bad earth, a corroded sender connector, or the sender itself.
- Check the relief valve. A stuck-open valve causes low pressure everywhere; a stuck-closed valve causes abnormally high pressure that never seems to peak and hold like it should. On an A-series this valve sits behind a domed hexagonal nut on the side of the block, towards the flywheel end (on the classic distributor-on-the-block engines it is roughly to the rear of the distributor, a handy landmark). Inspect the plunger or valve face for pitting and check the spring against the manual’s specified free length; a worn face or a tired spring is a genuinely common and fixable cause of both low and erratic readings.
- Check the pickup and strainer. A blocked, damaged or sludge-restricted pickup strainer restricts oil on the way into the pump, starving it at the inlet, and the low pressure that results then shows up right across the engine. The symptoms can look confusingly similar to genuine pump or bearing wear, which is why it is worth ruling out before condemning either.
- Only then suspect the pump or the bearings. If everything above checks out and the pressure is still genuinely low, you are looking at a worn oil pump, excessive bearing clearances, or both, and that means the engine is coming out or at minimum the sump is coming off.
A time-lapse oil pump and relief valve replacement on a 1977 Leyland Mini 850 after the engine lost pressure following a week off the road. It is a useful visual walk through the pump and relief valve themselves; note that on the Mini the pump lives behind the flywheel and its housing at the transmission end, so reaching it is a major job rather than a quick one, as covered below.
Fixing the common culprits
A stuck or worn relief valve is a common and genuinely accessible fixable cause of an oil pressure complaint on an A-series that is otherwise mechanically sound. Inspect the plunger or valve face and the spring, and renew whatever the manual calls for. Many A-series specialists favour replacing the original plunger with a hardened steel ball on reassembly, on the basis that it resists scoring and is less prone to sticking; it is a well-established modification, though worth reading up on for your specific engine rather than taking as gospel. Whatever you do, fit the correct new sealing washer or washers specified for your engine under the retaining nut when you put it back together (some use a folded copper washer, others fibre washers); it is a cheap part and a poor seal here causes an external leak that gets blamed on everything except itself.
A worn pump is a much bigger undertaking, and this is where it pays to be honest about the work involved. On the classic Mini, the oil pump sits at the transmission (flywheel) end of the engine, behind the flywheel and flywheel housing. Reaching it means removing the flywheel and its housing, and the factory manual has you take the engine out to do the job properly rather than treating it as a quick task under the car. The in-line Midget and Sprite installation differs again, so check your own car’s manual for the correct procedure. Beyond the pump, once you are looking at genuine bearing wear, you are into a bottom end rebuild, which is firmly an engine-out job in its own right.
For the electrical side of things, a misbehaving sender or a corroded earth is usually far cheaper and faster to sort than anything mechanical, which is exactly why step two above matters so much. Our electrical fault finding guide covers earthing and sender-circuit diagnosis in more depth if that is where your problem turns out to live.
Why this applies well beyond the A-series
The same broad diagnostic principles apply to most conventional wet-sump, pressure-lubricated classic engines, which is to say almost every British classic on the road. The specific pressures will differ, the exact location and drive of the pump will differ (the A-series takes its drive off the camshaft; many other engines drive the pump off the crank or the distributor shaft), and the accessibility will differ enormously. But the diagnostic order stays broadly the same: rule out the gauge, rule out the oil itself, check the relief valve, check the pickup, and only then start worrying about the bottom end. It is a logical process rather than a model-specific one, which is exactly why it is worth understanding properly rather than simply memorising a number for your own car, and why your own workshop manual is the reference that matters most.
If you are looking at one of the A-series-powered classics specifically, our classic Mini buyers guide, Morris Minor buyers guide, MG Midget buyers guide and Frogeye Sprite buyers guide all cover what a healthy example of each should look and sound like when you go to view one, oil pressure included.
References and further reading
- The British Leyland Mini Workshop Manual (AKD 4935) and Morris Minor Workshop Manual (AKD 530), the factory literature that gives the correct oil pressure figures, tolerances and lubrication-system procedures for these engines. Your own model’s factory manual is always the definitive reference over any general guide.
- MG Car Club: Midget Register, the club register covering the A-series-powered MG Midget and Austin-Healey Sprite, with owner-level technical support for these cars.
- British Motor Museum, Gaydon, the official archive for BMC and British Leyland engineering history and original documentation.
- Health and Safety Executive: safe motor vehicle repair guidance, for the safe working practices that apply whenever fault finding involves a running engine or working under a raised car.
This page contains affiliate links. If you click a link and make a purchase, Classic Car Hub may earn a small commission at no extra cost to you.